Thursday, June 9, 2011

Getting Ready for War Eagle

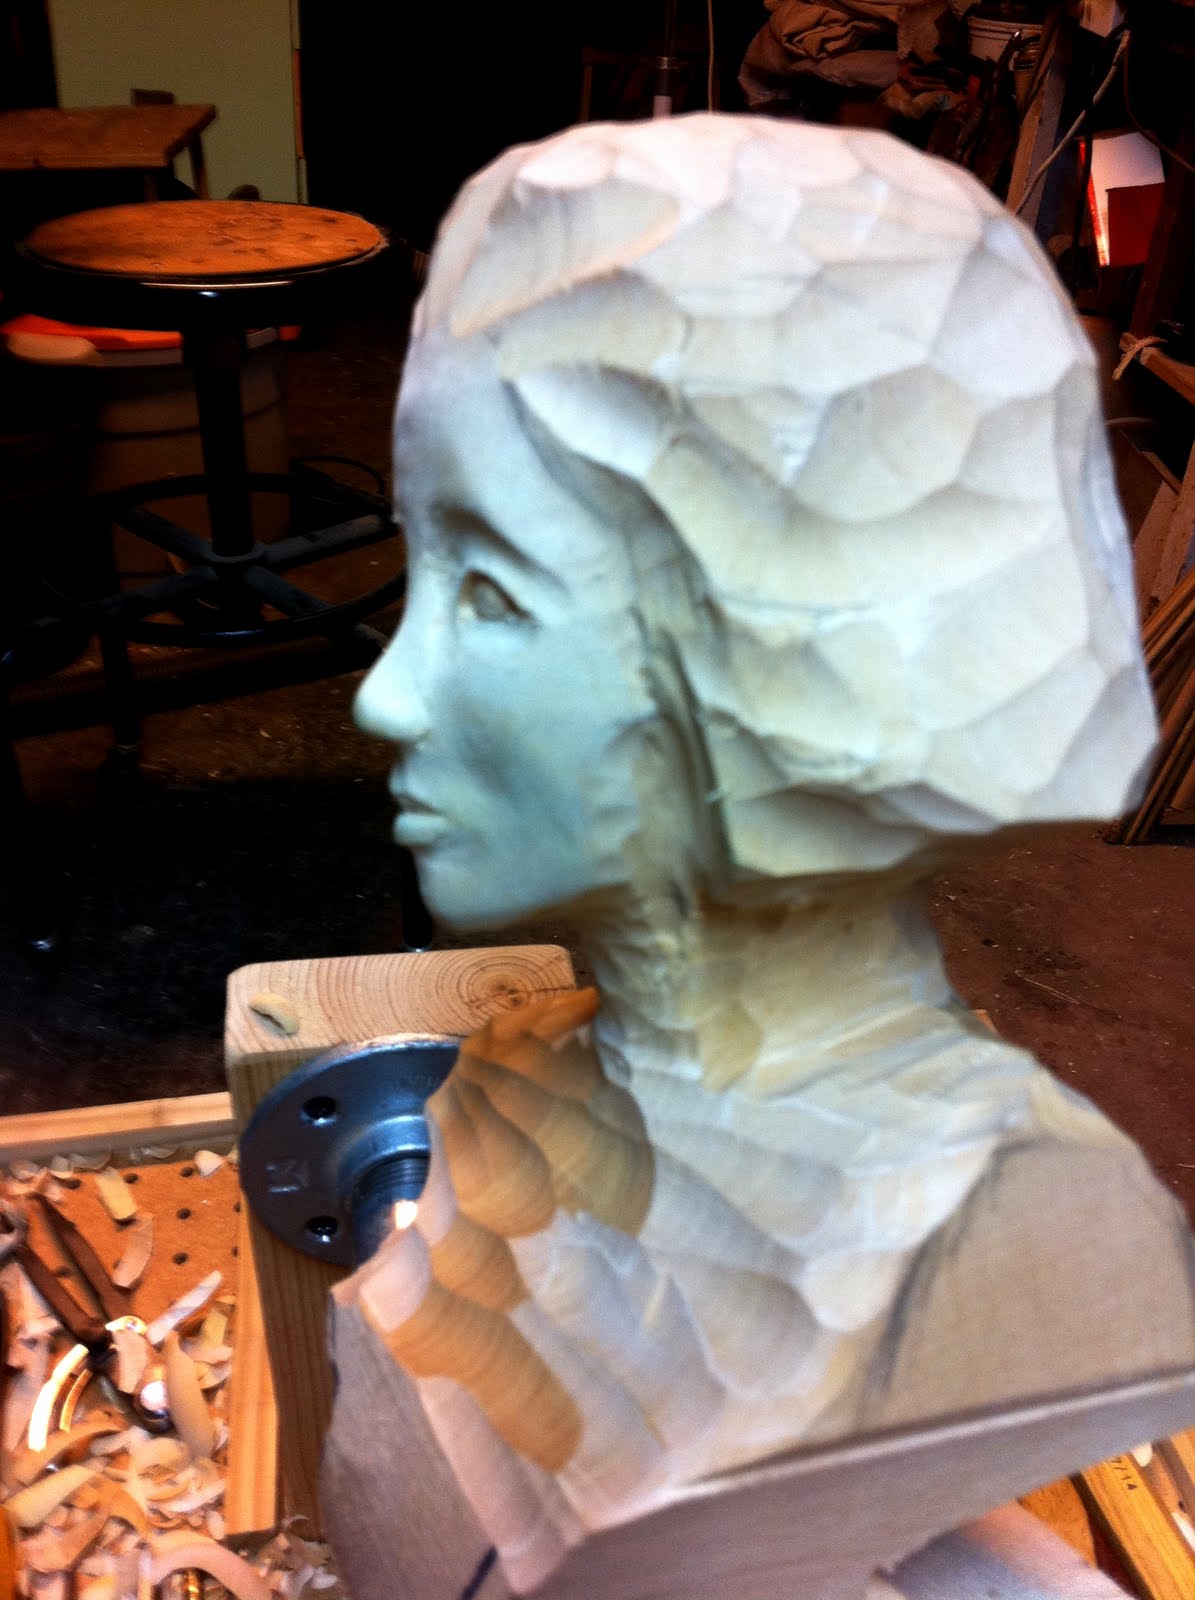
I registered for the War Eagle carving seminars again for this September and I am attempting to practice and get my carving skills in shape before attending! I hope that the better I am prepared, the more I will get out of it. I am signed up with Adina Huckins again and I don't want her to think I wasn't paying attention the last time. She emphasized repetition and practice as a way to improve skills, as a way to train your muscles to carve properly, to correctly cut and shape the wood.


So I am going to try and carve as many heads as possible in the next 3 months, trying to "remember" all the things she said and taught in the first class. I was pleased with the carving I did in the first class and it showed me I was capable of creating something good. Now the trick is to accomplish something of similar quality without Adina suggesting that I make this a little more symetrical or that I take a little bit more off over there. I have had a few commissioned carvings since last September that prevented me from jumping right in and I have to admit that some of my solo attempts were still kinda discouraging.


But I have no excuses remaining and I am a little encouraged that I am seeing some improvement with the ones I have worked on lately. Plus, it is also important to work at enough to improve physical endurance so that I can carve 8 or so hours daily for a week!


I am also evaluating my carving bench. Last year, I had problems with my vise, so I want to make sure everything is properly tested before loading up. So far, it has worked well and my only real concern would be the space it would require as opposed to one I can just clamp to a table or bench. Anyhow, thanks for looking and listening!


Friday, June 3, 2011

Santas and stuff

I've been busy the past several weeks since I finished the cane, just working on miscellaneous fun things. My daughter is refinishing an old dresser she rescued from the trash and I had to replace a couple of missing drawers. So I got to figure out how to use the dovetail jig someone gave me (it makes a big difference if you use the correct size bushing!). I used my table saw a lot, so I decided to make a Gripperz style push-block that turned out well. That, combined with some different methods, should improve shop safety. I got a web page set up for my carving club and have had a few inquiries from that. My neighbor gave me a partially charred carving of a frog, which was damaged when theri garage burned down. She though I might be able to use the teak it was made from, but I was able to scrape and remove the charred portions and still retain the frog shape. I am still in the process of repainting it and will probably mount it to a piece of wood since the base was rotted a bit. My Chief Financial Officer (wife) has approved my attendance again at the War Eagle carving seminars in Spetember, so I have registered for a class with Adina Huckins again. My plan is to carve as many faces as possible before then for practice and as a warmup. She said that I should be pretty good at it after carving a hundred or so! I am only up to about 20, so I better get to work! I have did a couple of female faces and am showing a little improvement. Here is a Santa I am almost finished with. I am getting a little more concious of shadows and effects that I can create. I enjoy doing Santas but I get a little burnt out after a while, so this is my first since last November? The ornaments are easy to produce and sell good, but I may try a few figures and see how they do. Thanks for looking!

Wednesday, May 11, 2011

"a Hunter's Cane" completed

This cane is a commissioned piece for a man who is an accomplished hunter. His daughter and sons wanted a piece that tied in geographically to Colorado and Minnesota and to his love for hunting and his family. From the start, they wanted it to be made from wood that came from these states and I suggested that it might make more personal for them and their father if they actually gathered the wood that I used, instead of just buying it. They provided some aspen and birch and an antler that came from their property. I turned the aspen for the shaft and dried it for several months and used the birch for a spacer and as a butt plate on the handle made from the antler. The carved portion is on basswood, also from Minnesota. The mountains and lake are loosely based on the state quarters issued for Colorado and Minnesota, and the deer and walleye represent his love for hunting and fishing. The leaves are similar to those found on fancy gun-stocks and represent the fall hunting seasons, with a favorite scripture reference hidden within the leaves. The words spiraling around the shaft are the poem "Palace in the Pines" written by the father about a favorite hunting camp in Minnesota. The cabin on the shore of the lake represents that cabin, the smoke from the chimney indicating that it represents not just past events... that it is still alive, still inhabited, and still full of the stories and people mentioned in his words. The words appear as a swirling design from a distance and then seem to draw you in as you recognize them as words, as you hold the cane. The design of the cane has rustic, primitive feel, almost the look of something that a man might make sitting by the fire at night, waiting for the snow to stop. I hope it brings memories of good times to the man who receives it, and I hope it represents the pride and love of his family. Thanks for looking! You can see all the pictures from start to finish on this cane here.


A Difficult Egg

The instructions provided said "keep carving the flower and leaves until someone asks you how you got the flower to stick to that egg. Then you will know you have it right." At first glance that would sound like the difficult part!


A lady (Sally Butler) at the last carving club meeting provided a rectabular piece of wood, some brief instructions, and a carved example of a wooden egg with a flower on it, for us to duplicate. At first glance, it seemed simple and easy enough project, but as I carved and carved and carved, making an impressive pile of chips, I discovered that making a nice wooden egg without a lathe requires a lot of work! I can be stubborn and I was determined to get an egg shape no matter how long it took! I was so proud when I finally got some thing that didn't look like a football. I spent quite a few hours over the past month working on that simple shape with just knives. When I had it really close, I used a small sanding drum on my flex tool to smooth it out. The instructions and example left more knife marks showing, but I like my eggs smooth! The dogwood blossom took a lot less time, but I took the instructions to heart and took extra time to try and achieve more realism in the carving. I used a pyrographic pen to shade and add details to the flowers and leaves. I paint a lot of my carvings, which hides some of the cool effects that you can get with burning, so I decided to leave this unpainted and just finish it with a boiled linseed oil mixture. Thank's for looking.

Sunday, May 1, 2011

"a Hunter's cane" ---- finishing the scenery and starting the burning


I’ve made a lot of progress on the carving portion over the past three days! I used the same techniques previously mentioned to outline and then relief carve the fish that will be on the back portion of the cane. I then used a knife to remove the background that is the lake… I’m wanting the lake to be a lower level than the deer, leaves, and fish that I’ve carved. I use some shallower profile gouges like #5s and #3s to get most of it down. I have a long (1 1/2”) Mike Shipley knife that has a very thin flexible blade that I like for a lot of different things, but the length and sharpness really helped to level the background. I then started cutting back from the shore line so that the boulders would appear further back than the lake. The cabin and the trees were a little more painstaking than the boulders. I wanted the cabin to have the appearance of proper perspective and the trees needed to be in front of and behind the cabin and have a proper “branchy” appearance, not just a cone shape. I played with different techniques using a knife and diamond bits and eventually got the shapes like I wanted by using my pyrographic pen to burn/carve the trees similar to my sketch. I used a small rounded heel skew tip to do the leaves and add the details to the log cabin.


I also added some shadows to the boulders and liked the effect it gave.


So, with that level completed, I removed the background again for the level that would be the mountains. I used a knife to trace all my pencil lines from the design. The pencils lines are all carved away as I lower the background, but the knife marks remain if carved deep enough (if they start disappearing, I just make them a little deeper as I remove the background). I used knives and #11 veiners to create the ravines and channels of the crags and peaks of the mountains. After this was completed, I removed the final level of the sky, which is lower than the mountains.


The next process was to sand and and smooth, using the bristle sander and also a small 1/2” cylinder cushioned sander. I have about wore the rubber cushioning out on this one, but it is an excellent little tool that does a great job on sanding small areas smoothly. It is like the drum sanders that let you cut your own sandpaper to fit, but it has a soft rubber cushion that gives somewhat the effect of a small inflatable drum sander. I use this to smooth the sky and the surface of the lake, as shown below.


Sometimes, certain areas of a carving seem to flow very quickly and then the simplest things will take forever to complete. i am now starting to shade more and outline more with the pyrographic pen. I have an inexpensive Colwood Detailer that has handpiece that accepts interchangeable tips. I primarily use the small skew mentioned aboce for outlineing and straight lines and I use a small spoom shader for the shading effects. I burned darker around certain portions to make sure they stood out well against the background.


Thanks for looking and thanks for your patience with such a long post! I am using this blog as a way to practice and improve my limited writing skills and I really appreciate the kind remarks from those who find my ramblings useful.